
Scheduled Arming for Your SimpliSafe® System
Scheduled arming allows you to customize your system even more by creating a schedule to arm and disarm your system based on a day and time interval. This feature is available to both Original SimpliSafe® and Gen 3 Systems, and customers with a residential or business monitoring plan, such as Pro Plus, Pro, Core or Self Monitoring with Camera Recordings. To access this feature, you will need to be running the latest version of the SimpliSafe® Mobile App.
To get started with this feature, use the pop-up within the SimpliSafe® Mobile App when you manually arm or disarm your system, or follow along with the steps below:
Choose My System from the bottom navigation bar
Select Arming Automations (opens in new tab) , and then Scheduled Arming
If it’s your first time using this feature, you’ll need to choose Add Schedule, and then ensure that push notifications (opens in new tab) are enabled by selecting Allow Notification
Once that is done, you’ll be able to set up a new schedule. You’ll have the flexibility to set up a schedule to arm your system, another to disarm it, or create two different schedules to accommodate both.
You can choose which mode you want to enable at what day of the week, and the exact time you want the system to change its armed state.
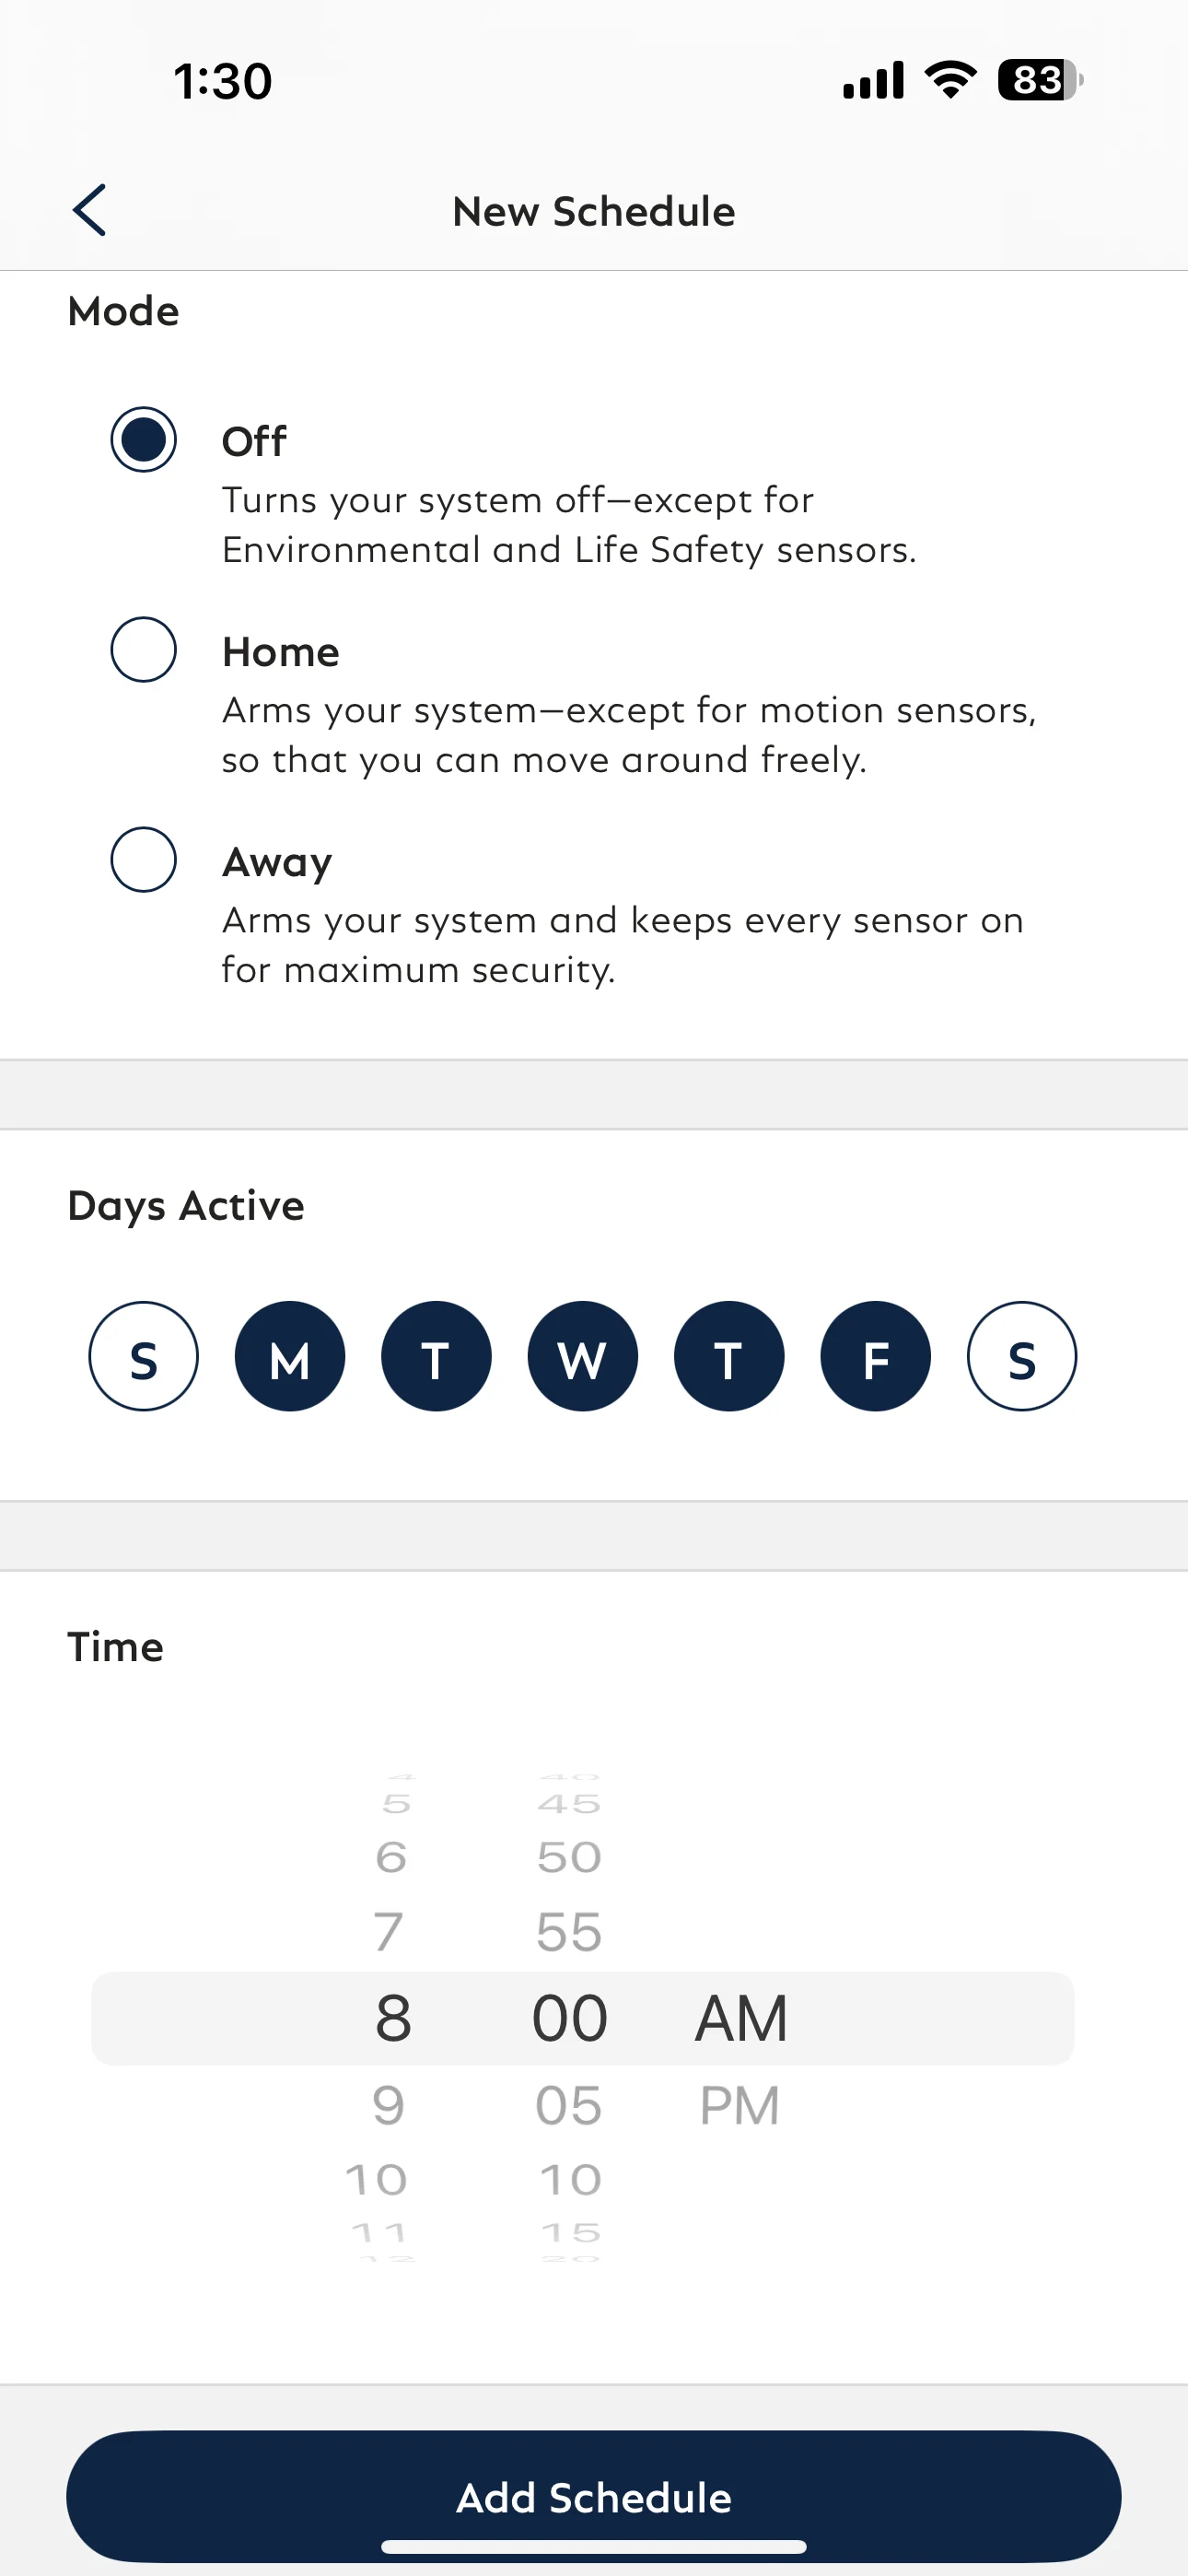
For example, you can set your system to arm to Home Mode Monday through Friday at 10pm.
When the scheduled arming state is set to occur, the system will automatically count down and make the change to the arming state. Once it finishes counting down and changes the arming state of your system, you’ll receive a push notification that the system was armed or disarmed if you have Activity Notifications (opens in new tab) enabled.
Please note that the arming schedule you have in place will override any manual armed setting. For example, if you manually arm your system to Away Mode at 10am, but you have a pre-existing schedule to arm your system to Home Mode at 11am, the arming schedule for Home Mode will still take place.
You can edit or remove your schedules at any time under the “Scheduled Arming” section of the SimpliSafe® Mobile App.
Open the SimpliSafe® Mobile App.
Choose My System from the bottom navigation bar
Select Arming Automations (opens in new tab), and then Scheduled Arming
Select the schedule you want to edit
Tap Save to save any changes made to the schedule, or Remove to delete it.
Pause Your Arming Schedule
You can pause scheduled armings for a set period of time using the 'Pause Schedule' (opens in new tab) feature.