Original SimpliSafe® Wireless Siren Installation Guide
Updated
| Does your Keypad look like the one pictured to the left? Then you're in the right place! You've got the Original SimpliSafe system. If you purchased a new system in 2018 or later, you likely have the Gen 3 SimpliSafe. Click here to view the article for the Gen 3 SimpliSafe. If you're not certain which system you have, you can tell the difference here. |
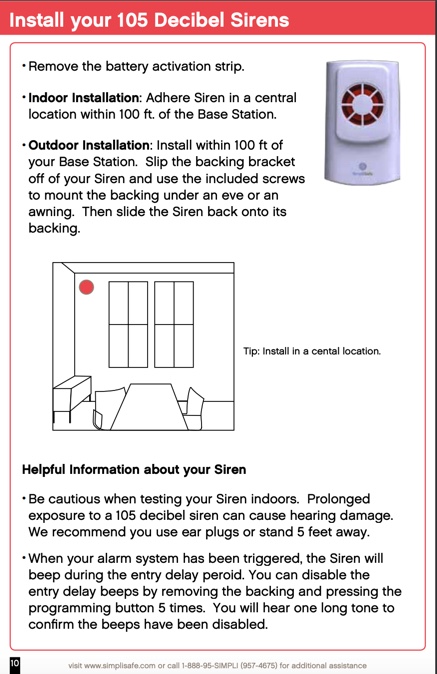
Each Wireless Siren is equipped with adhesive strips, and screws for installation.
Adhesive Strips: Remove the liner on each adhesive strip attached to the Wireless Siren bracket. Next, adhere the Wireless Siren to a smooth surface. Press and hold the Wireless Siren for 30 seconds to ensure it is firmly attached to the surface.
Screws: If you would prefer a more secure installation of your Wireless Siren, slide the Siren up off of the bracket. Now, you can adhere the bracket to the surface using the screws. Slide the Wireless Siren back onto the bracket, and it is installed.
NOTE: Your Wireless Siren(s) must be installed within 100 feet of the Base Station in order to function properly.
Syncing Your Wireless Siren(s)
Once you have installed your Wireless Siren(s), you will need to synchronize the Siren(s) with the rest of your security system.
Slide the Wireless Siren up off of the bracket, retrieve one of your Keychain Remotes, and carry the components over to the Base Station.
Press and hold the black Programming button located on the back of your Wireless Siren.
While holding down the Programming button on your Wireless Siren, repeatedly press the Off button on your Keychain Remote until you hear a single, “Beep,” from the Wireless Siren.
Your Wireless Siren has now been synchronized, and you can slide it back onto the bracket.
Repeat this process with all of your Wireless Sirens.
If you do not have a Keychain Remote you can synchronize your Wireless Siren(s) using your Keypad(s).
Slide the Wireless Siren up off of the bracket, and slide your Keypad up off of its bracket as well.
Carry both components over to the Base Station.
Press and hold the black Programming button located on the back of your Wireless Siren.
While holding down the Programming button on your Wireless Siren, press Off on the Keypad, and enter your PIN repeatedly until you hear a single, “Beep,” from the Wireless Siren.
Your Wireless Siren is synchronized, and you can return the Siren and Keypad back to their original locations.
Repeat this process with the rest of your Wireless Sirens.
How To Make Your Extra Wireless Siren(s) Mimic Entry Delay Countdown Beeps
By default our Wireless Sirens are programmed to mimic the entry delay countdown beeps made by the Keypads. However, if you notice that your Wireless Siren is not mimicking the entry delay countdown beeps follow these helpful steps.
Slide your Wireless Siren up off of the bracket, and walk over to the Base Station.
Repeatedly press the black Programming button located on the back of your Wireless Siren until you hear 2, “Beeps.” Your Wireless Siren will now mimic entry delay countdown beeps.
Adhere your Wireless Siren back to the bracket.
Repeat these steps with all of your Wireless Sirens if you want them to mimic the entry delay countdown beeps as well.
If your Wireless Siren does mimic the entry delay countdown beeps, but you do not want it to mimic, repeat the steps above. However, you will want to repeatedly press the Programming button until you hear a single, “Beep.” The single, “Beep,” indicates that your Wireless Siren will not mimic the entry delay countdown beeps.
NOTE: The Wireless Sirens do not mimic exit delay countdown beeps.


